Here’s what you need:
Free/Open Source Software:
- http://3dp.rocks/lithophane/
- https://inkscape.org/en/
- https://www.tinkercad.com/
- https://www.onshape.com/
Paid software: Magics by Materialise
Step into the 21st century and learn how to easily make beautiful lithophanes with 3D printing. Tweet this
Here’s how we did it:
Step 1: First, we started by taking two pictures.
Step 2: We imported the group picture into http://3dp.rocks/lithophane/ and converted the 2D printed image into a .stl file.
Step 3: Then we converted the signatures into a .svg file from Inkshape in order to make it a .stl file on TinkerCAD, which allowed us to overlay all of the signatures on the lithophane.
Step 4: The Stratasys logo, frame and eCAB logo were then designed in OnShape.
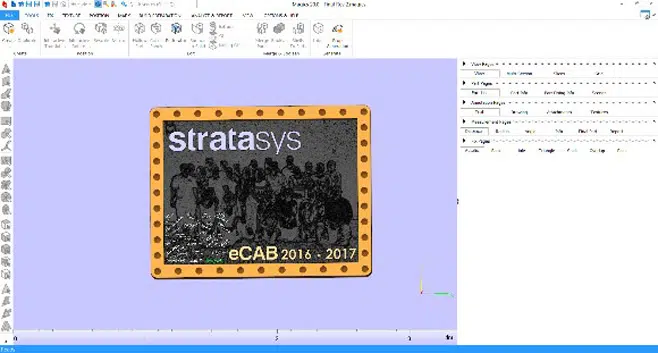
Step 5: Now that we had all of the .stl files ready, they were brought and arranged in Magics.
Step 6: Once they were arranged and saved as .stl files in their new location, we uploaded them to Objet Studio to be 3D printed on our multi-color and -material Connex3 3D Printer. The appropriate colors were then assigned and 3D printed with a glossy surface, as shown below.
Two hours and thirty minutes later, the entire lithophane was complete. The image to the right shows what the lithophane looks like when held in front of light.
Create a class (or classy) picture today, with a modern-day lithophane!
Want to learn more? Subscribe to our Education Innovation Series for monthly updates on 3D printing in and out of the classroom:
Follow us on our Stratasys EDU Facebook
